Hash Sets, NSRL, and Bit-Shift Recovery (Autopsy + FTK + WinHex)
Overview
This set of labs was basically all about using hash sets the right way (known good vs known bad), getting Autopsy configured so it doesn’t light up fake system files, and then doing a bit-level recovery with WinHex. Tools I used were Autopsy, FTK Imager, OSFMount, and WinHex on Windows 11.
Tools / Environment
- OS: Windows 11
- Tools: Autopsy, FTK Imager, OSFMount, WinHex
Installing NSRL Database (Autopsy)
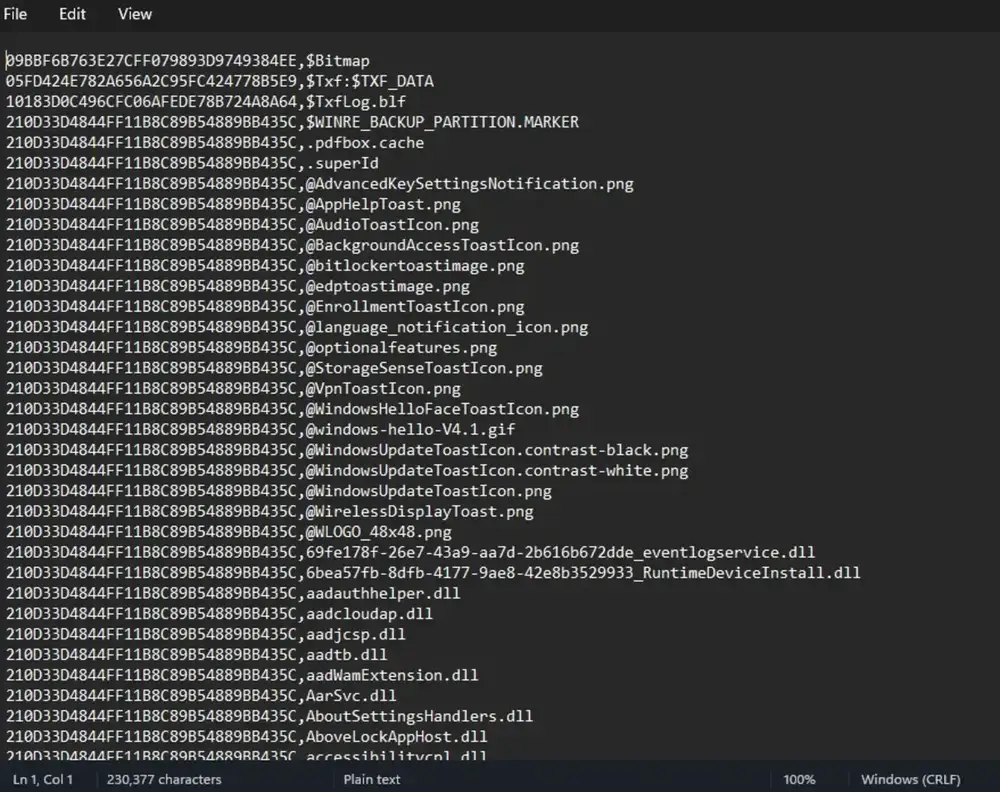
I installed the latest NSRL hash database into Autopsy, then I created a separate Known Hash Set using Known-Pseudo-Hashes.csv.
One of the issues I ran into was I opened the .kdb file by accident and it looked unreadable. That’s because it’s basically a SQLite database Autopsy uses internally, so it’s not meant to be opened like a normal file. Once I re-read the steps, I fixed it by opening the .csv in Notepad, copying the hash values, and pasting them into the new hash set in Autopsy.
Why this matters: the “pseudo” hash set keeps Autopsy from flagging those fake Windows system files as suspicious during these projects.
FTK Imager (Known Bad Hashes)
For this one I used FTK Imager to generate MD5 hashes for five known bad files. After exporting the hash list, I cleaned the CSV by removing the header row and deleting column B so I only had the MD5 values left. Then I created a new Notable hash set in Autopsy and added the hash values into it.
Why this matters: once those hashes are loaded, Autopsy can identify known bad files fast without me manually digging through everything.
OSFMount + WinHex (Bit-Shift Recovery)
Here I mounted a forensic image using OSFMount, then used WinHex to figure out the data was bit-shifted. The fix was shifting the data to the right by 1 bit. After shifting and saving, I verified it worked by opening the file normally in File Explorer and it was readable again.
Why this matters: sometimes files aren’t “deleted,” they’re just corrupted or shifted, and you can still recover them if you know what you’re looking at.
Autopsy (Hash Sets in Real Use)
In Autopsy, I analyzed the forensic image using the Known Pseudo and Known Bad hash sets. I selected those two and left the NSRL database unchecked (like the instructions said). Once the analysis finished, I found the known bad files under Score – Bad Items, tagged them as Notable, exported them, and generated the Excel report.
Big takeaway: this is what makes the workflow feel “real.” Once hash sets are set up correctly, Autopsy does a lot of the heavy lifting and cuts down the time to identify suspicious files.
What I got out of this
- Hash sets are everything for speeding up triage (known good + known bad)
- NSRL is useful, but for these project images it can create noise if you don’t use the pseudo hash set
- FTK Imager makes it simple to generate and export hash lists
- WinHex is clutch when you need to go low-level and fix corrupted/shifted data
- Once Autopsy is configured right, the analysis is way more streamlined
If it’s not broken, fix it til it is.